Polymeric Sand: How to Use It on Pavers
Sweep polymeric sand into completely dry paver joints at least 1.5 inches deep, compact it with a plate compactor, clear every grain off the surface, then mist it with a hose. Install above 32°F with a dry forecast.
By LandscapeLookup Editors7 min read
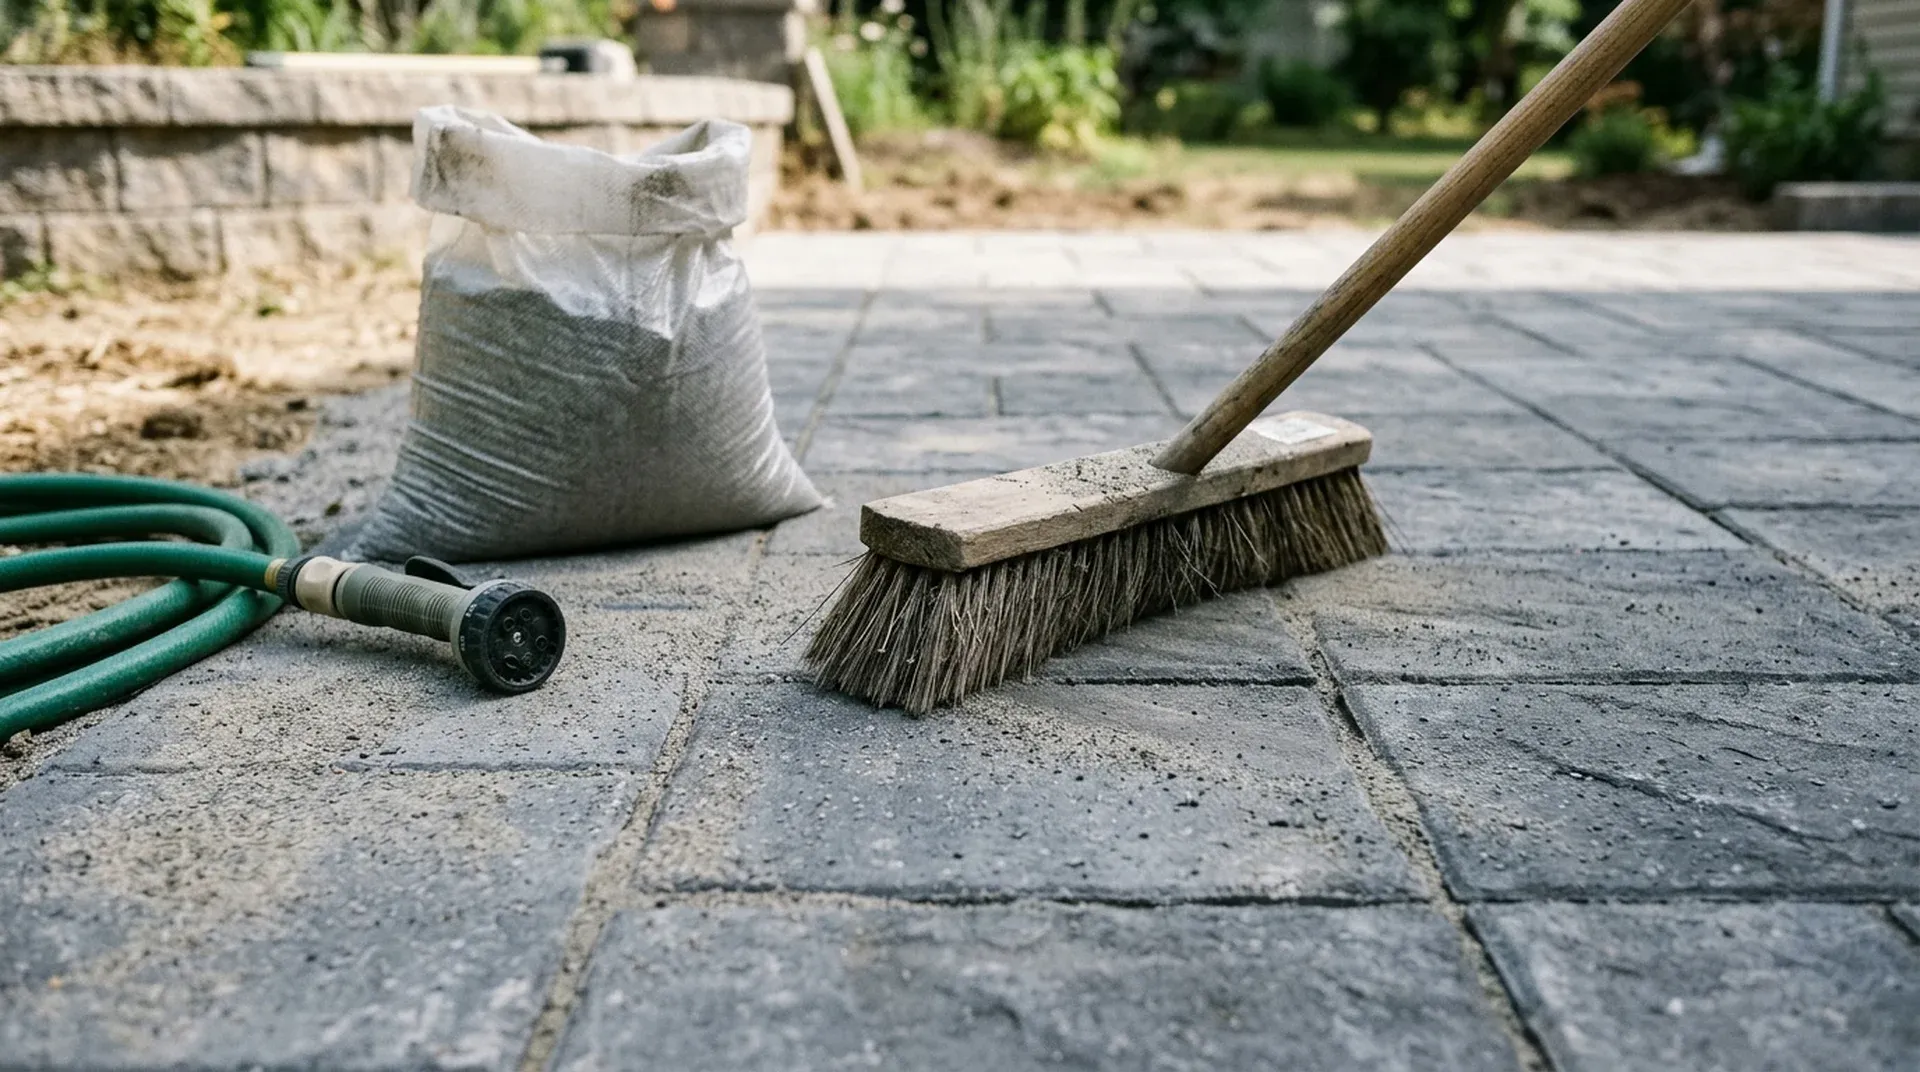
Polymeric sand is graded sand mixed with a polymer binder. You sweep it dry into paver joints, compact it, then mist it with water so it hardens into a firm but flexible joint that resists washout, weeds and ants. The keys are a completely dry surface, joints at least 1.5 inches deep, a plate compactor, and clearing every grain off the paver tops before you water, all on a day above 32°F with dry weather ahead.
What polymeric sand does (and doesn't do)
Regular joint sand works, but it washes out. Concrete Network notes paver joints may need fresh sand every 2 or 3 years to keep weeds out, and that polymer sand can reduce that maintenance. Techniseal says its RG+ binder inhibits weeds, deters ants, resists erosion from rain, frost heave, wind and power washing, and stays flexible as pavers move (Techniseal RG+ technical data sheet).
It has limits. Techniseal says not to use it as a substitute for mortar, not to mix it with cement or sand, and to use it only on pavers set over a sand-set drainage bed, not ones mortared onto a concrete slab. It's also not for surfaces that stay submerged or constantly wet.
- Natural stone, such as bluestone: fine if it's laid on a sand bed rather than mortar. Alliance Gator lists natural stone among Maxx G2's uses, for joints up to 4 inches wide. Skip it for stone mortared onto a slab.
- Downsides: it costs more than regular joint sand and is less forgiving to install. Unilock also says it isn't ideal for heavily textured pavers, where it can leave a haze in the grooves.
- Alternatives: Unilock presents regular jointing sand as the lower-cost option, not a better one, and suggests pairing it with a joint-stabilizing sealer to reduce washout.
It also won't fix sinking or rocking pavers. That's a base problem: lift the pavers, repair the base and reset them (see pavers vs. concrete).
Check the specs on your bag first
Products differ, so read the label on the brand you buy. Here's how two common products compare, from the manufacturers' own instructions:
|
Spec |
Techniseal RG+ |
Alliance Gator Maxx G2 |
|---|---|---|
|
Joint width |
1/16 to 1 inch |
1/8 to 4 inches |
|
Minimum joint depth |
1.5 inches |
1.5 inches |
|
Temperature |
Above 32°F through 48 hours of drying |
Above 32°F, dry conditions |
|
Rain |
Resists surprise rain after 90 minutes; plan 24 hours dry |
Rain safe 15 minutes after watering |
|
Coverage per 50-lb bag |
60–120 sq ft narrow joints; 25–40 sq ft wide joints |
About 65–85 sq ft narrow joints; 22–42 sq ft wide joints |
|
Vehicle traffic |
Wait 24–48 hours |
Not stated |
Sources: Techniseal RG+ data sheet (2018 update, still the version on Techniseal's site) and Alliance Gator Maxx G2. Gator coverage varies slightly by color.
Measure a few joints with a ruler before you buy. Prices vary by brand, bag size and store.
Pick a color, too. Unilock suggests a close match for sleek concrete pavers, a mid-tone to tie together variegated natural stone, and a contrasting joint for clay brick.
Tools and safety gear
- Stiff push broom and a soft push broom
- Vibratory plate compactor (rentable), with a rubber pad or mat for textured pavers
- Leaf blower (unless your product says it isn't needed)
- Garden hose with a shower-setting nozzle
- A small screwdriver to check how deep the water has soaked in
- For old patios, a joint-cleaning tool or pressure washer to remove old sand
- Safety glasses, gloves and a respirator (see below)
Protect yourself from the dust
Some polymeric sands contain quartz, a form of crystalline silica. The safety data sheet for SEK-Surebond's PolySweep explains the risk. The sand isn't a known hazard in its bulk state, but the SDS warns that mechanical forces can produce fine dust, so pouring, sweeping and blowing are the times to protect yourself. Breathing that respirable silica dust over and over can cause silicosis and may cause cancer.
That SDS calls for:
- Safety glasses with side shields, or goggles.
- A NIOSH-approved respirator when the work makes dust above exposure limits.
- No dry sweeping or compressed air to clean up spills. Wet the spill or wear respiratory protection.
Formulas differ. Techniseal's RG+ safety data sheet doesn't list silica, but it still warns of eye irritation and skin allergy. It says to avoid breathing the dust and to wear gloves and eye protection. Read the safety data sheet for your brand before you start.
How to install polymeric sand, step by step
1. Prep the joints
On a new patio, the pavers should already be laid and compacted. On an existing patio, remove the old jointing material down to at least 1.5 inches without disturbing the bedding sand underneath, per Alliance Gator. Some brands specify a particular product for re-sanding old joints. Techniseal's RG+ data sheet, for example, calls for its HP2 formula on all joint replacement projects.
Then let the paver tops, sides and joints dry completely. Moisture activates the polymer early, so the sand sticks to the surface and stains it.
2. Check the forecast
Alliance Gator's guidance is to skip installation if rain is forecast within 1 hour on a drainage base, or 24 hours on a non-drainage base (installation guide). Techniseal recommends planning for 24 hours without rain and keeping temperatures above 32°F for at least 48 hours of drying. In northern states, that usually means finishing the job before late-fall nights dip below freezing.
3. Spread and sweep
Pour the sand onto the pavers and sweep it into the joints with the stiff broom until they're full to the bottom. Techniseal advises against sweeping the product over long distances, so work it into the joints near where you pour it. Wear your glasses and respirator while you pour and sweep.
4. Compact, then refill
Run a plate compactor over the whole area to pack the sand down, then sweep in more sand and compact again until the joints stay full. Techniseal's RG+ instructions call this step critical: without mechanical compaction, joints stay weak and fail quickly. Use a rubber mat on textured pavers to avoid scuffing, and check with the paver maker whether a plate compactor is suitable for your pavers.
Leave the finished sand level at the bottom of the paver's beveled edge (the chamfer), or at least 1/8 inch below the top, per Techniseal. Alliance Gator's instructions call for at least 1/8 inch below the top of the paver, or 1/8 inch below the chamfer.
5. Clear the surface completely
Sweep off the excess with the stiff broom, then the soft broom. Then use a leaf blower, held far enough away that it doesn't empty the joints, with your respirator still on. Any residue left on the paver tops will harden when it gets wet and leave a haze. Some newer products, including Gator Maxx G2, are designed to need no blower, so follow your label.
6. Water it in
Set the hose nozzle to "shower" and start at the lowest point of the patio. Techniseal's method:
- Work in sections of about 200 square feet.
- Shower a section for about 30 seconds without displacing the sand.
- Wait a few seconds, then shower the same section for another 30 seconds.
- Push a small screwdriver into a joint to confirm it's wet about 1.5 inches deep.
- Move straight to the next section, and avoid flooding the surface.
Alliance Gator's G2 tips call for a single watering on a shower setting. Its Maxx G2 instructions add about 30 seconds per 30 square feet or until the sand starts repelling water, and say never to let the surface dry out during this phase. Techniseal also suggests blowing excess water off textured pavers after wetting each section to prevent haze.
7. Let it cure
Techniseal's RG+ sheet lists "no specific considerations" for foot traffic, so it gives no waiting period for walking on it. Keep cars off for 24 to 48 hours. Other products differ, so check your label. Drying takes longer when it's cool and damp, and shorter when it's warm and dry.
Common problems and how to avoid them
|
Problem |
Likely cause |
Prevention |
|---|---|---|
|
White haze or crusty film on pavers |
Residue left on the surface, or pavers were damp |
Install on dry pavers; blow off every grain before watering |
|
Joints soft or crumbling |
Joints too shallow, not compacted, or not wetted full depth |
1.5-inch depth, plate compactor, screwdriver check |
|
Joints washing out |
Rain too soon, or too much water pressure |
Dry forecast; gentle shower setting |
|
Sand stuck to paver tops |
Applied to a damp surface |
Wait for a fully dry day |
Sealing after polymeric sand
If you plan to seal your pavers, apply the sand first and let it harden. Alliance Gator's sealer instructions call for waiting at least 48 hours at 41°F or warmer with no rain before cleaning the surface and sealing (Gator Seal Natural Look data sheet). The company's sealer FAQ gives a 72-hour minimum in one answer and, in another, 30 days of fairly dry weather for a fully mature joint, so the longer wait is the safer choice. Our guide to paver sealing covers whether sealing is worth it.
When to call a pro
Re-sanding a small patio is a reasonable weekend project. Consider hiring a hardscaping pro if you have a large driveway, wide or irregular natural-stone joints, pavers that are sinking or loose, or a previous polymeric sand job that failed and needs to be dug out. If you're planning a new patio, see how much a paver patio costs.
- Get 2–3 written quotes that say which product they'll use, how deep they'll clean out old joints and whether cleaning or sealing is included.
- Ask for photos of similar work, especially re-sanding jobs on older patios.
- Check licensing and insurance where your state requires them for hardscape contractors.
- Get the scope and payment schedule in writing, including what happens if haze appears or joints fail.
LandscapeLookup lists local hardscaping pros for free, with no sign-up, and you contact them directly. Find a hardscaping pro near you.
Editorial team
The LandscapeLookup editorial team writes guides to help US homeowners plan yard projects and hire the right pro. Each guide is based on university extension services, government sources such as EPA WaterSense and USDA, manufacturer instructions and published cost guides, and links to them so you can check the details.
Keep reading
Flagstone Patios: Cost and How They're Built
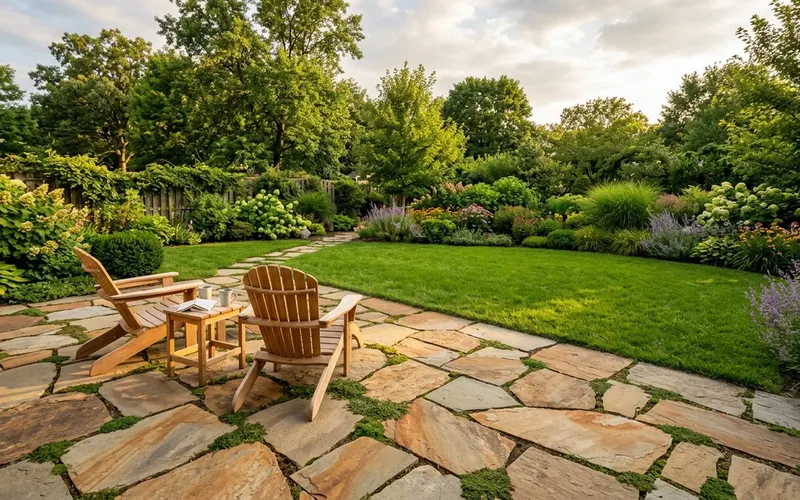
A flagstone patio usually costs $15 to $27 per square foot installed, or about $3,600 on average. Most are dry-laid on compacted gravel and sand; mortared stone on a concrete slab costs more and can crack in freeze-thaw climates.
October 3, 2026
How to Lay Pavers: Base, Sand and Steps
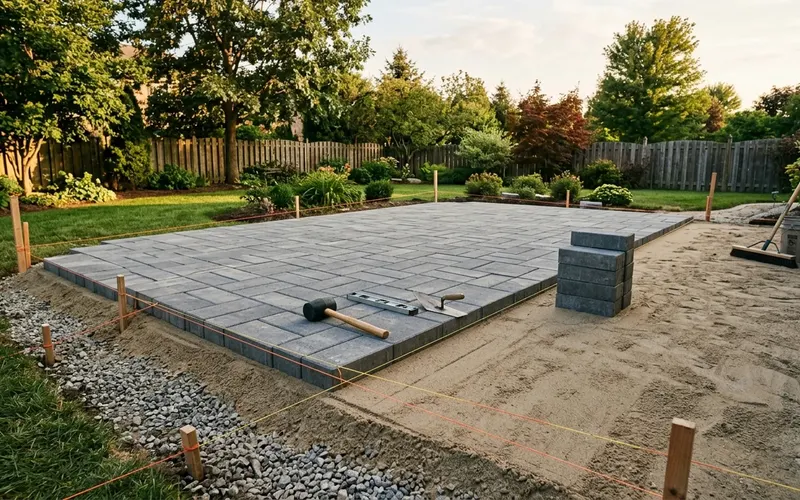
Lay pavers on at least 4 inches of compacted crushed-stone base (more on clay or in freezing climates), then 1 inch of screeded concrete sand. Set the pavers, add edge restraints, compact and sweep in joint sand, with a slope of 1/8 to 1/4 inch per foot.
September 24, 2026
Driveway Costs for Asphalt, Concrete, Pavers and Gravel
A new asphalt driveway usually costs $7 to $15 per square foot installed, or about $3,100 to $7,400 for a typical job. Gravel costs less, concrete a bit more, and pavers the most.
September 20, 2026