How to Winterize a Sprinkler System
Winterize before the first hard freeze: shut off the water, switch the controller off, then drain or blow out the lines with compressed air (never above 80 psi for PVC or 50 psi for poly pipe). HomeAdvisor puts a pro blowout at about $100–$250.
By LandscapeLookup Editors7 min read
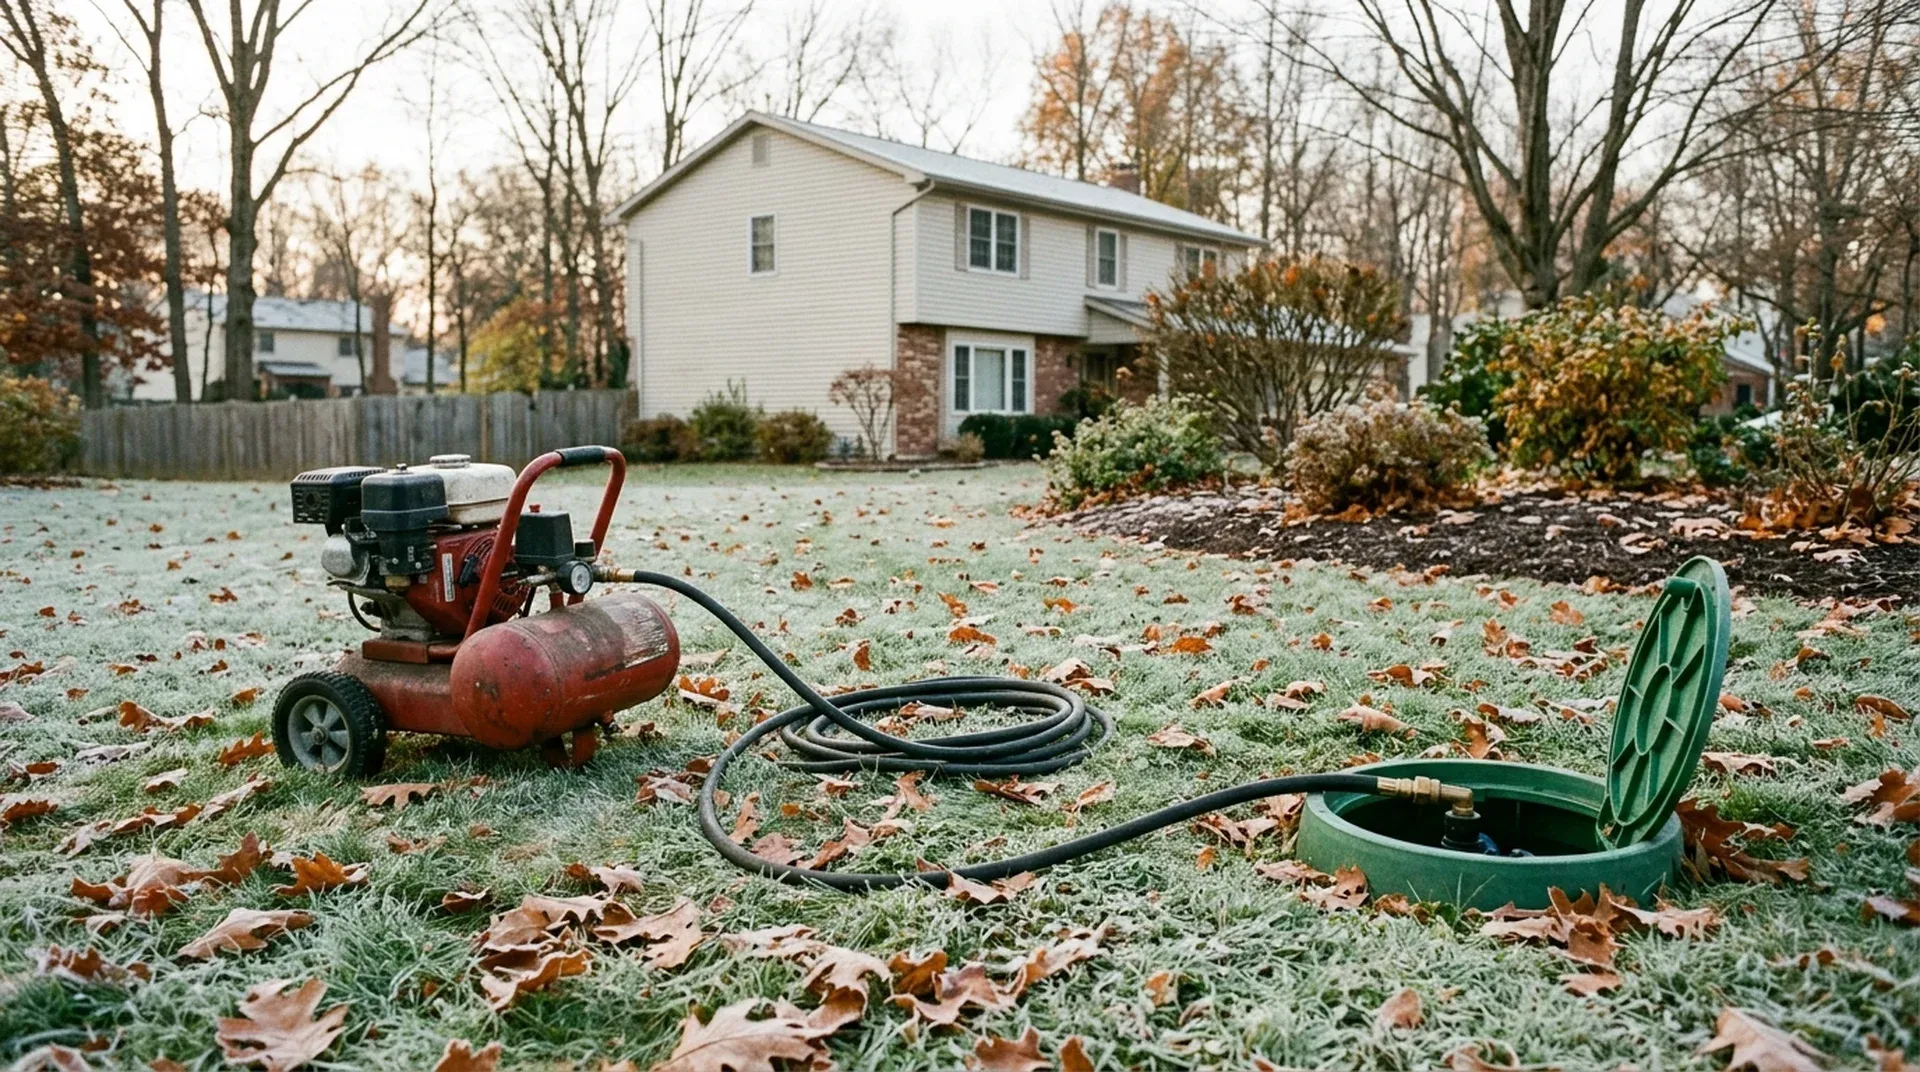
To winterize a sprinkler system, shut off its water supply, set the controller to "off" or rain mode, and get the water out of the pipes before the first hard freeze. Depending on how it was built, you drain it through valves or blow it out with compressed air (Hunter Industries' limits are 80 psi for PVC pipe and 50 psi for poly). HomeAdvisor puts a professional blowout at about $100–$250, depending mostly on how many zones you have.
When and why to winterize
Water left in buried pipes expands as it freezes. Hunter Industries' winterization guide notes that pipes can freeze and crack even after partial draining.
Leftover water can crack PVC pipe and fittings. It can also rupture the walls of flexible black polyethylene sprinkler pipe, which Hunter says is used in many freezing climates. In the backflow assembly, it can damage the internal parts and possibly crack the brass body.
Hunter's advice is to do it every year "before the first freeze" in areas where frost reaches below the depth of your pipes. If you're hiring it out, book early. LawnStarter's cost guide says fall is usually the most cost-effective time, because companies winterize all their clients in one stretch.
In mild-winter areas the job is lighter. Texas A&M AgriLife's irrigation program says blowouts are mostly a northern practice and that most Texas systems aren't designed for one. For light freezes, it recommends turning off the controller and the irrigation water supply, insulating exposed PVC, and draining above-ground parts like the backflow preventer.
How cold is too cold? There's no single number. The City of Round Rock, Texas, tells residents what to do once temperatures stay below 28°F for more than 4 hours. They can shut off water at the backflow device and run each station for a minute or less to drain the lines.
Above-ground parts such as the backflow preventer are the most exposed, so protect them first.
|
Your winters |
What to do |
|---|---|
|
Ground freezes below pipe depth (common in northern states) |
Full winterization: shut off, drain or blow out every zone, protect the backflow preventer |
|
Occasional light freezes (much of Texas and similar mild-winter areas) |
Shut off controller and supply, insulate exposed pipe, drain the backflow preventer and other above-ground parts |
|
Rare or no freezes |
Usually no full winterization; before a rare hard freeze, follow the light-freeze steps above |
The three ways to get water out
According to Hunter, systems in cold climates are built around one of three drain methods. If you don't know which one you have, Hunter recommends the blowout method.
- Manual drain. Valves at the ends and low points of the pipe. You shut off the supply and open each drain valve, then close them when the water's out.
- Automatic drain. Valves that open on their own when pipe pressure drops below 10 psi. You shut off the supply and run a zone briefly to relieve pressure.
- Blowout. An air compressor pushes the water out through the sprinkler heads, zone by zone.
Drip zones need draining too. Our guide to drip irrigation vs. sprinklers covers draining the drip mainline and bringing the head assembly (backflow device, filter and pressure regulator) indoors.
Can you winterize without a compressor?
In cold climates, only if your system has drain valves. Manual and automatic drains don't need air.
Colorado State University Extension, writing for Colorado, is wary of relying on them. Its winterization fact sheet says buried pipes shift over time, so water can sit in low spots, and that systems with electric valves must be blown out. If you have no drain valves and no big compressor, hire the blowout.
In mild-winter areas, you usually don't need a compressor at all. The lighter steps in the table above are typically enough.
How to blow out a sprinkler system, step by step
Hunter recommends a qualified licensed contractor for blowouts, and Rain Bird suggests a local irrigation specialist because of the safety risks. Hunter's warning is blunt: wear ANSI-approved eye protection and never stand over pipes, heads or valves while the system has air in it. If you still want to do it yourself, here is the sequence from Hunter and CSU Extension.
- Shut off the water. Close the irrigation shutoff, usually in the basement, or a stop-and-waste valve that may be buried in the yard. CSU warns not to force it.
- Get the right compressor. Hunter specifies 80–100 CFM for a mainline of 2 inches or less, the kind of compressor you rent from an equipment rental yard. HomeAdvisor puts rentals at about $30–$60 a day.
- Connect after the backflow device. Attach the hose to the blowout fitting downstream of the backflow preventer, with the compressor valve closed. Never push air through the backflow device itself; CSU notes the heat can melt its rubber seals.
- Start a zone first. At the controller, turn on the zone that's highest and farthest from the compressor. Close the backflow isolation valves. Then open the compressor valve slowly.
- Keep pressure in range. Stay under the rating of the weakest part on the zone and never above 80 psi with PVC or 50 psi with polyethylene pipe.
- Work zone by zone. Run each zone until no water comes out of the heads, about 2 minutes or more. Hunter recommends 2 or 3 short cycles over one long one, and CSU says to blow out each zone twice. Stop once a zone is dry, since air moving through dry pipe creates friction heat.
- Finish up. Disconnect the compressor and release any remaining pressure. Don't leave manual drain valves open after a blowout.
Protect the backflow preventer and controller
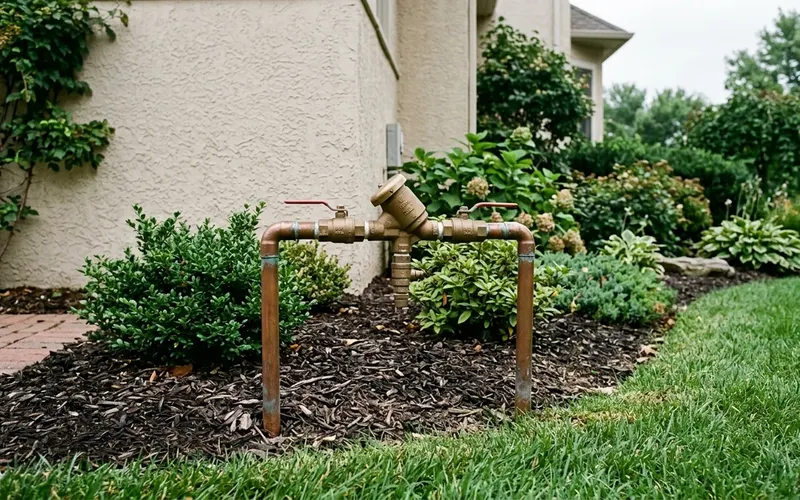
The backflow preventer usually sits above ground, so it takes the brunt of the cold. Hunter warns that freezing can damage its internal parts and crack its brass body.
The Ohio EPA's backflow manual says most home irrigation systems use a pressure vacuum breaker (PVB). Hunter and CSU give the same steps for it after a blowout:
- Open and close the ball valves several times to let trapped water out.
- Leave the ball valves about half open (roughly 45°).
- Leave the small test cocks open.
Reduced pressure (RP) assemblies drain differently. Follow the maker's instructions or let a pro do it.
Rain Bird's winterizing page recommends wrapping the main shutoff and any above-ground backflow preventer or valves with foam insulation tape. Don't cover the device's air vents or drain outlets.
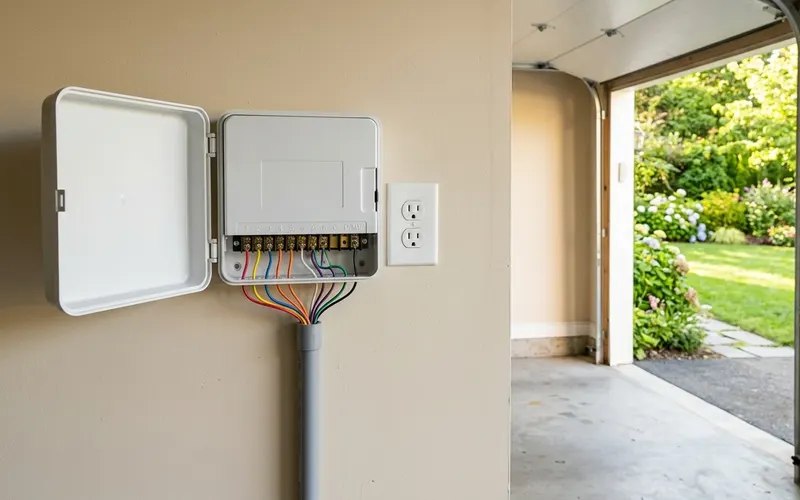
For the controller, use the "off" or rain setting rather than unplugging an outdoor unit. Hunter notes the transformer's warmth keeps condensation out of the box, and Rain Bird points out that rain mode keeps your programming. If you have a rain sensor with a collection cup, Hunter suggests emptying it and covering it for winter.
What winterization costs
Prices depend mostly on how many zones you have and your local labor rates. HomeAdvisor puts the average winterization around $91, with most homeowners paying $56–$133. HomeAdvisor's overall average covers all methods; it quotes blowouts higher, at about $100–$250.
|
Zones |
Typical winterization cost |
|---|---|
|
1–2 |
$50–$75 |
|
3–4 |
$80–$100 |
|
5–6 |
$100–$130 |
|
7–8 |
$150–$250 |
Source: HomeAdvisor. Costs vary by region.
LawnStarter's cost guide breaks it down by method: about $70–$150 for a manual drain, $75–$165 for an automatic drain, and $85–$215 for a blowout. It lists spring start-up at around $45–$140. Many companies bundle fall shutdown and spring start-up into one service plan, so ask.
If you're pricing a new system, our guide to sprinkler system costs shows how zone count drives both installation and upkeep.
Starting it back up in spring
CSU's start-up steps: close the backflow test cocks and ball valves fully before turning the water on, then open the ball valves slowly. Opening them fast can cause water hammer, a pressure surge that damages pipes and fittings.
Check your local rules before the season starts. Some water utilities require a backflow test when a system goes back into service. The Ohio EPA's backflow manual, for example, says that where a utility accepts a PVB on a home irrigation system that's shut down seasonally, it must be tested at start-up each year. Our guide to backflow testing covers who requires it and what it costs.
Before you set the controller for the season, check your utility's watering-day and hour limits, since many communities restrict when you can run sprinklers. Our guide to the best time to water your lawn covers schedules and run times.
When to call a pro
A blowout is a job where a mistake can hurt you, not just your pipes. Hiring it out makes sense if you don't have the right compressor or don't know how your system is built.
When you hire:
- Get 2–3 written quotes that list the price per zone or flat rate and whether spring start-up is included.
- Ask how they protect the backflow preventer and what air pressure they use.
- Ask for photos or references from similar residential jobs.
- Check licensing and insurance where your state requires it. Requirements for irrigation and backflow work vary by state and city.
- Get the scope and payment terms in writing.
You can compare local irrigation pros on LandscapeLookup. It's free and there's no sign-up: pros are ranked by Google rating weighted by review count, plus how local they are and their main service, and you contact them directly.
Editorial team
The LandscapeLookup editorial team writes guides to help US homeowners plan yard projects and hire the right pro. Each guide is based on university extension services, government sources such as EPA WaterSense and USDA, manufacturer instructions and published cost guides, and links to them so you can check the details.
Keep reading
Sprinkler Repair: Common Problems and Costs
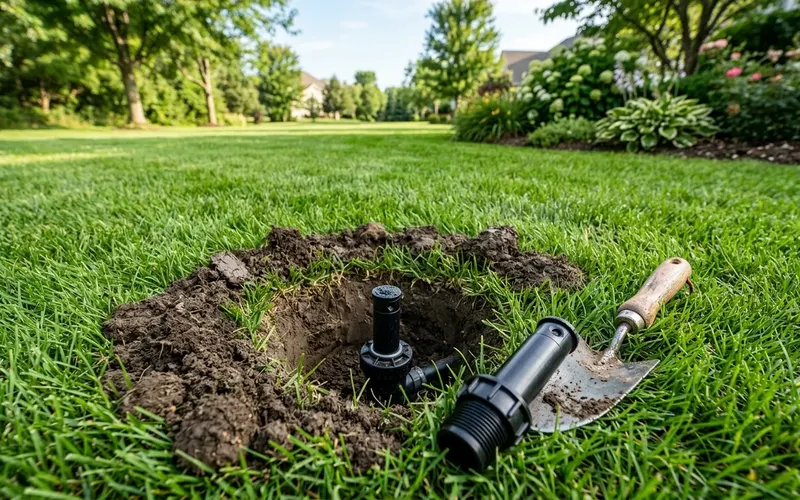
Most sprinkler repairs are small jobs: a broken head, a clogged nozzle, a leaking valve or a cut wire. HomeAdvisor puts a typical pro repair at $137 to $422, and many head and nozzle fixes are easy DIY.
October 4, 2026
Smart Sprinkler Controllers: Are They Worth It?
A smart sprinkler controller adjusts watering to the weather or soil moisture. It usually pays off if your lawn gets more water than it needs, especially with a utility rebate, but saves little if you already water carefully.
September 17, 2026
Backflow Testing: What Homeowners Need to Know
A backflow test checks that the device keeping sprinkler water out of your drinking water still works. Many utilities require one every year by a certified tester; a typical test costs about $70–$90, plus any local filing fee.
September 10, 2026